Converting a loft is one of the most effective ways to gain space without moving house or building an extension. The space is already there, under your roof, just waiting to become a bedroom, an office, a playroom or a master suite. But not every loft lends itself easily to conversion, and certain points must be checked before you spend a single euro. Here is the complete guide, step by step.
Step 1: check feasibility
The height under the ridge
This is the first criterion. For a room under the roof to be pleasant, you need enough height in the centre and a reasonable area where you can stand up. Regional and municipal planning regulations often set a minimum height for a room to be considered habitable. Measure the height between the floor and the underside of the ridge, allowing for the future thickness of the insulation and the floor.
The pitch of the roof
The steeper the pitch, the larger the usable area. A shallow roof leaves little standing room. If there is not enough height, a dormer or a roof raise can make all the difference, as part of a larger project.
The roof structure
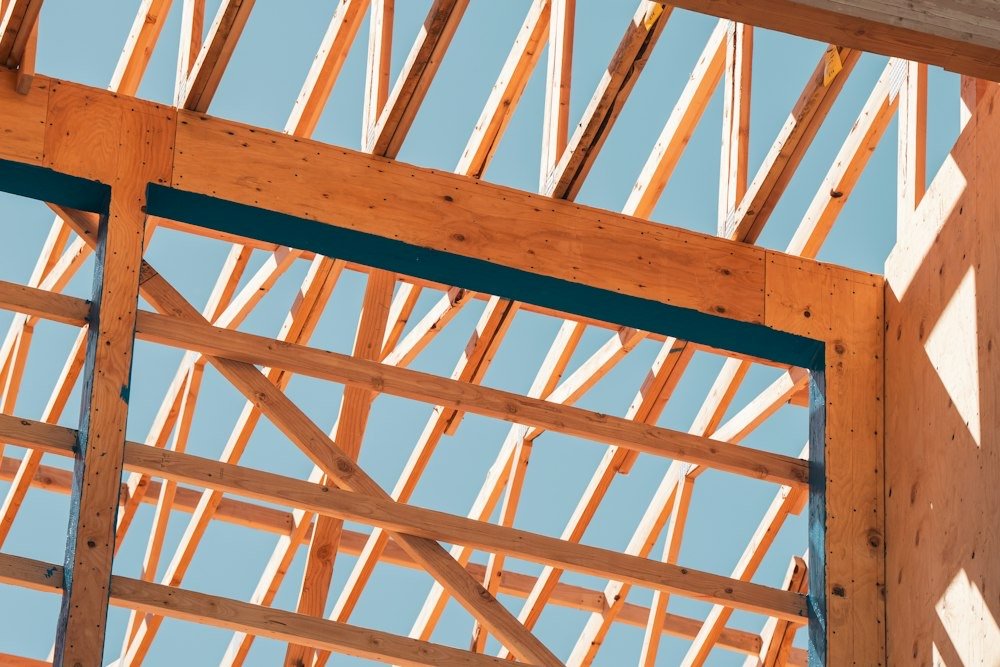
Go up into the loft and look at the structure. A traditional frame, with widely spaced trusses, purlins and rafters, leaves the space free. Prefabricated trusses, with their tightly spaced W-shaped diagonals, clutter it completely. They can be altered, but never cut without a structural study: every member contributes to the stability of the roof. See our article on roof timber treatment for the condition of the wood.
The floor
The joists of a storage loft are not always sized for a living space with furniture and occupants. Reinforcement may be needed, especially if you are planning a bathroom.
Access
A loft ladder is not enough for a room that will be lived in. You need a proper staircase, and therefore an opening in the floor. Its position must be planned so that it does not compromise the floor below too much.
Step 2: check planning rules
Converting a loft into a habitable room without changing the exterior often does not require planning permission. However, adding dormers, raising the roof, adding windows visible from the street or creating a separate dwelling generally does. The rules vary by region and municipality: check with the planning department before you start. The conversion may also change the cadastral income.
Step 3: put the roof in good order
This is the step many people forget, and the one that costs most when it is neglected. Before lining the sloping ceilings with plasterboard, the roof must be sound: watertight covering, underlay in place, timbers in good condition. Working on the roof after the conversion would mean dismantling the finishes. If your covering is at the end of its life, this is the ideal moment for a full renovation with external insulation. Our article on when a roof needs replacing helps you assess its condition.
Step 4: insulate properly
A poorly insulated loft is an oven in summer and an icebox in winter. There are two main solutions:
- External insulation (sarking), ideal if the covering needs replacing: no loss of volume, no thermal bridges.
- Insulation between and under the rafters, if the covering is sound: cheaper, but it reduces the height slightly.
In both cases, aim for a thermal resistance of at least R = 4.5 m²K/W and pay close attention to airtightness. For summer comfort, dense insulation such as wood fibre is much more effective. Our article on sarking insulation compares the two techniques.
Step 5: let the light in
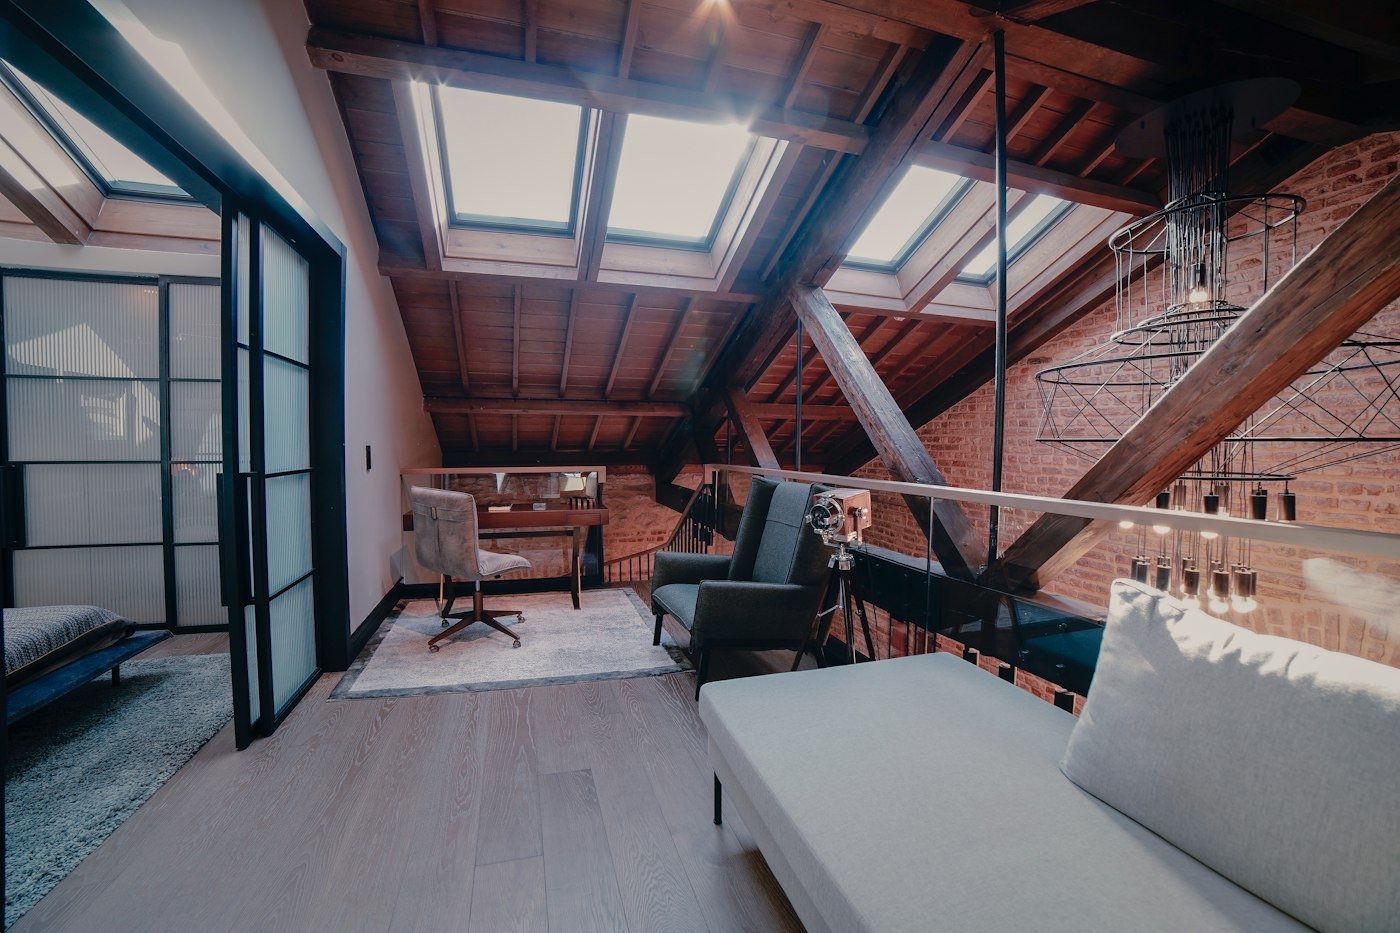
Roof windows bring in abundant light, much more than a facade window of the same size. A few rules:
- allow at least one tenth of the floor area in glazed area;
- position the windows at a height that lets you see out, both sitting and standing;
- fit south- and west-facing windows with external shutters or blinds;
- consider a roof access window, useful for maintenance.
Our article on how to replace a roof window describes the models and accessories.
Step 6: plan the space
- The high areas are for circulation, wardrobes and standing use.
- The low areas are for beds, desks and made-to-measure storage.
- The knee walls under the slopes become cupboards.
- The bathroom goes near the existing downpipes to simplify drainage.
- Ventilation is essential, especially in a bedroom or bathroom under the roof.
Acoustics, often forgotten
A loft floor easily transmits the sound of footsteps to the floor below. Acoustic insulation under the new floor and decoupled partitions make a big difference.
Step 7: estimate the budget
The budget for converting a loft varies enormously depending on the starting point:
| Starting point | Main work | Order of magnitude |
|---|---|---|
| Sound roof, traditional frame | Insulation, roof windows, finishes, staircase | Moderate budget |
| Sound roof, prefabricated trusses | Plus alteration of the roof structure | Intermediate budget |
| Roof needing renovation | Renovation with sarking, windows, finishes | Large budget |
| Insufficient height | Dormers or roof raise, with planning permission | Budget close to an extension |
In every case, ask for detailed, itemised quotes. For a home more than ten years old, reduced VAT at 6% in principle applies to renovation work.
Step 8: organise the work
The logical order is: structure and roof timbers, roof and waterproofing, insulation and roof windows, electrics and plumbing, partitions and ceilings, staircase, then finishes. Entrusting the shell, meaning the timbers, roof, insulation and windows, to a single team avoids problems with junctions and responsibilities.
Converting a loft: heating and comfort
A well-insulated loft needs little heating, but it still needs a solution. Often it is enough to extend the existing central heating with a radiator, or to install a small electric radiator or a split heat pump. Plan the pipes and cables before the finishes so they disappear neatly into the walls or floor.
Frequently asked questions
Is converting a loft with prefabricated trusses possible?
Yes, provided the structure is altered according to a study, for example by replacing the diagonals with members that free up the space. Never cut a truss without calculations.
How long does converting a loft take?
The shell, meaning the roof timbers, insulation and roof windows, generally takes two to four weeks. The finishes add a few weeks depending on their extent.
Should I tell my insurer?
Yes. An extra habitable room changes the floor area and value of the property: let your insurer know so you remain properly covered.
In summary
Converting a loft starts with three checks: the height, the roof structure and the condition of the roof. Then come insulation, light and the interior layout. Our roofers take care of the whole shell in Brussels, Walloon Brabant, Hainaut and Flanders: discover our loft conversion service and request a free visit.